
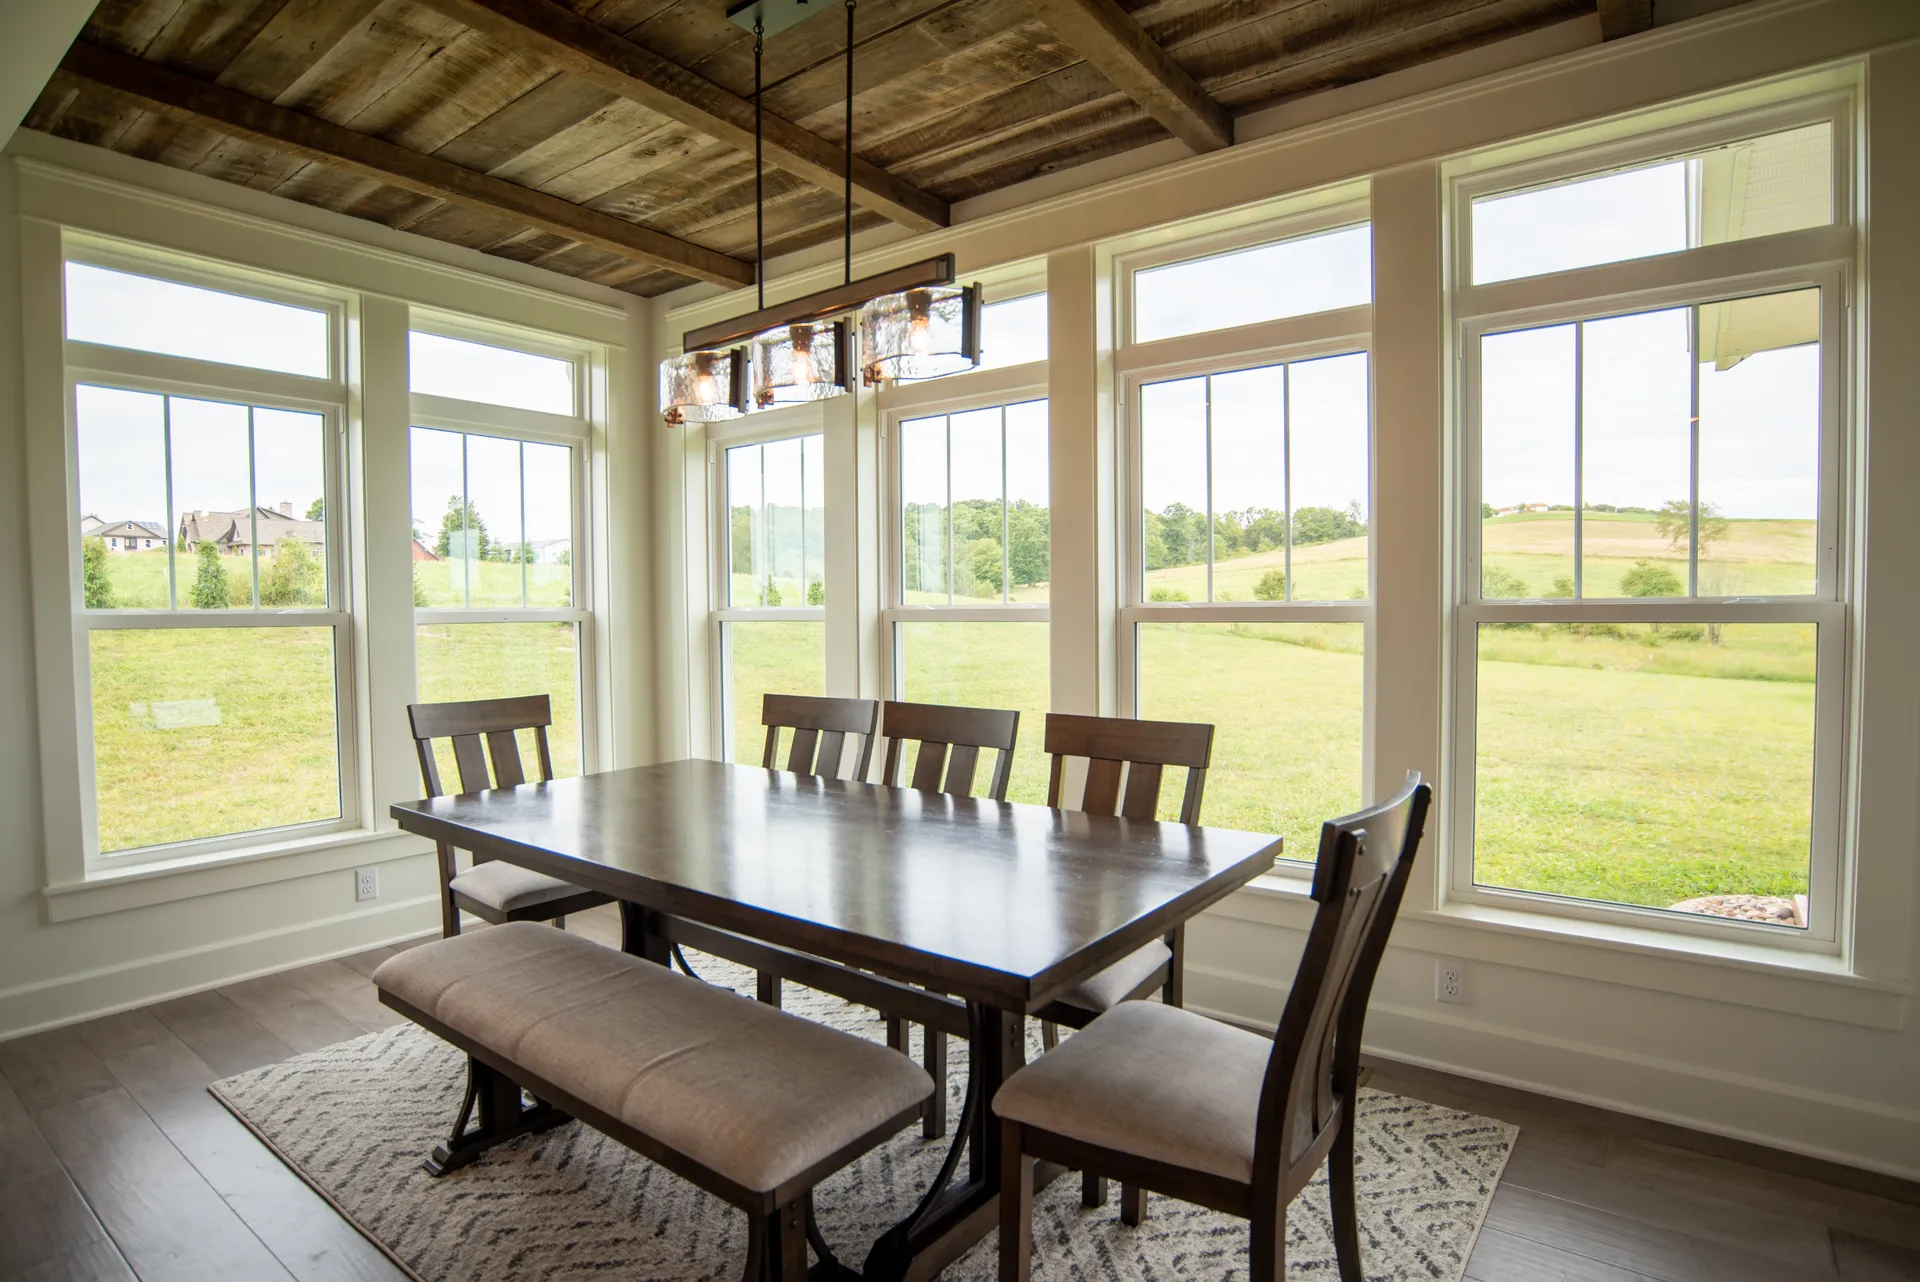
Most window-buying advice starts with the brand. That’s the wrong first question. The window you buy matters, but it is the second-most important decision you’ll make — and it’s a distant second to who puts it in your wall.
A Window Is Only As Good As Its Installation
This isn’t a contractor’s talking point. It’s the position of the Fenestration and Glazing Industry Alliance, the trade body that writes the installation standards the window industry actually uses. Writing for the NFRC’s consumer guide, FGIA’s own technical training specialist put it this way: there’s an old adage in the industry that a window is only as good as its installation, and “when homeowners have a complaint about a product’s performance, it is often the case that improper installation is at the root of the problem.”
FGIA lists three things a botched install costs you:
- The energy savings you paid for. A high-performance window in a leaky opening performs like a cheap one. You bought the rating; you don’t get it.
- Repeat service calls. Sashes that bind, locks that don’t line up, windows that won’t stay open.
- Water and air infiltration — the expensive one, because water that gets behind the frame damages sheathing, framing, and drywall long before you see a stain.
Even ENERGY STAR, whose whole job is rating the product, says so plainly: even the best windows can be drafty if they are poorly installed.
This is exactly why we publish our own specification rather than just claiming quality — see the Aspen Bravo Installation Standard for the written, step-by-step process our crews install to and our inspector signs against.
The Visible Red-Flag Checklist
You don’t need to be a contractor to spot most installation defects. Walk your house with this list — it works on a job you’re inspecting the day after install, and on windows a previous owner had done years ago.
1. Gaps at the sill or frame. Run your eye along the joint where the window frame meets the opening, inside and out. Daylight, a visible void, or a gap you can slide a business card into means the unit wasn’t sealed and insulated to the rough opening. If you can feel air moving there on a windy day, that’s a leak.
2. Fogging or moisture between the panes. Condensation on the inside surface of the glass is usually a humidity issue. Condensation between the panes means the insulated glass seal has failed — the sealed unit is no longer sealed, and no amount of cleaning fixes it. In a new window this points to a damaged or racked unit, often from forcing a frame into an opening that wasn’t square.
3. A sash that sticks, binds, or won’t lock cleanly. A properly installed window operates with one hand and locks without you leaning on it. Binding almost always means the frame is out of square or was shimmed unevenly — the opening is squeezing the unit.
4. Messy, lumpy, or cracked caulking. Sealant is not a cosmetic finish; it’s a water barrier. Thick beads smeared to hide a gap, sealant already cracking or pulling away within a season, or caulk used as the only thing holding out water are all signs of a crew covering for a poor fit rather than correcting it.
5. Skipped or uneven shims. Shims hold the window square and level and carry its weight without distorting the frame. Look at the jambs before trim goes on if you can. Too few shims, shims only at one side, or a frame that visibly bows are all defects — and they’re the usual cause of #3 above.
6. No tie-in to the weather-resistive barrier. This is the one homeowners almost never check and the one that causes the most expensive failures. The window flashing has to be integrated with the house’s weather-resistive barrier and lapped so water sheds outward and downward — housewrap over the flashing at the head, flashing over the housewrap at the sill. Reversed laps funnel water into the wall. If you’re on site during install, this is the moment to look.
7. Water staining below the window. On an older install, a stain, bubbled paint, or soft drywall under the sill is water that’s been getting in for a while. That’s a failure, not a cosmetic issue.
One thing to know about timing: installation defects usually surface fast. Air leaks, water intrusion, and condensation problems from a bad install frequently show up within the first year — often after the first heavy, wind-driven rain. If something looks wrong in the first season, say so then.
The Two Warranties, and What Each One Actually Covers
This is where a lot of homeowners get an unpleasant surprise, so it’s worth being precise.
The manufacturer’s product warranty covers the window. Seal failure, frame defects, hardware, finish. It covers a product that was defective when it left the factory.
It does not cover the installation. As FGIA puts it, many manufacturers’ warranties don’t cover installation at all — meaning it is the installer’s responsibility to stand behind their own work. If your window leaks because of how it was set in the opening, the manufacturer is not the one who fixes it.
And a bad installation can void the product warranty outright. ENERGY STAR is explicit on this point in its own buying guidance: certified windows and doors are required to ship with installation instructions, and some manufacturers will void your warranty if you do not follow manufacturer installation instructions. Some warranties go further and require an installer certified by the manufacturer. That’s the real risk in a DIY install or a low-bid crew working off habit instead of the manufacturer’s spec — you can lose the coverage you paid for on a window that was never defective in the first place.
So there are two questions to ask any contractor, and they are not the same question:
- What’s the manufacturer’s warranty on the product?
- What’s your workmanship warranty on the installation — in writing, for how long, and what does it cover?
A contractor who answers the second question with “we stand behind our work” has not answered it. Aspen Bravo backs installation labor with a limited-lifetime workmanship warranty, separate from and in addition to ProVia’s product coverage.
What a Correct Installation Actually Includes
Ask what’s in the scope. A complete replacement install covers:
- Removal and disposal of the old unit — included, not a line item added later.
- Inspection of the opening before the new window goes in. Rot, out-of- square framing, and failed sills get found here, not discovered halfway through. (This is also the most common source of a legitimate change order, so ask up front how it’s handled.)
- Shimming square, level, and plumb — checked with a level, not eyeballed.
- Flashing and weather-barrier integration, lapped correctly so water sheds out of the wall.
- Insulating the gap between frame and rough opening — low-expansion foam or backer rod, not stuffed fiberglass and not sealant alone.
- Sealing interior and exterior with the right sealant for the substrate.
- Interior and exterior trim finished.
- Operation check on every unit before the crew leaves: opens, closes, locks, tilts.
- Lead-safe work practices on any home built before 1978. This is an EPA requirement for window replacement, not an upsell — contractors must use lead-safe practices and provide you the EPA’s homeowner brochure before work begins. A contractor who’s never heard of it is telling you something.
How to Vet the Crew, Not Just the Company
Three questions worth asking before you sign:
“Who physically installs — your employees or subcontractors?” Neither answer is automatically wrong, but the answer tells you who’s accountable and who trained them.
“Are your installers certified, and by whom?” FGIA runs the industry’s InstallationMasters training and certification program for window and exterior glass door installers — covering everything from site inspection to final cleanup. It’s a checkable credential, not a claim.
“Is windows and doors what you do, or one of several trades?” A crew installing windows every working day accumulates repetitions a general remodeler splitting time across kitchens, roofing, and siding never will. Windows and doors are the only thing Aspen Bravo does.
Quality Tiers, Not a Price Table
We don’t publish a price per window, and we’d rather say why than quietly leave it out.
A single number would be wrong for most homes. Window count, opening size, style, glass package, and whether an opening needs structural repair each move the total substantially — a straightforward swap into a sound frame and a bay window that needs new structural support aren’t the same job, and pretending otherwise is how a “starting at” price becomes a bait-and-switch conversation on your couch.
What we can be specific about is what separates good from better from best. Aspen Bravo installs ProVia, which builds four window lines. Moving up the range buys you measurably more, not just a badge:
ecoLite™ — the entry tier. All-vinyl, welded frame and sash, white interior and exterior, three glass options. Honest, functional replacement windows for a rental, a flip, or a budget-driven whole-house job.
Aspect™ — the mid tier. Adds SunShield® vinyl, INNERGY® thermal reinforcements in place of conventional metal reinforcement, three exterior colors, six glass options, and thirteen glass packages. This is where most homeowners land, and where the energy performance starts to justify itself.
Endure™ — the premium vinyl tier. Everything in Aspect plus graphite foam insulation in the frame, eight interior colors, four exterior vinyl/laminate colors, and eight glass options. ProVia’s most energy-efficient vinyl line.
Aeris™ — the top tier. Vinyl exterior construction with a genuine wood-clad interior, graphite foam insulation, and 25 stain or 19 paint interior finishes. For homeowners who want a wood interior without wood’s exterior maintenance.
Per ProVia, the Endure, Aeris, and Aspect lines are ENERGY STAR certified — though certification is climate-zone specific, so the right label for a home in our South-Central zone isn’t the same one as for a home in a northern climate. We’ll show you the NFRC label for the exact unit we’re quoting.
Doors follow the same logic. Entry doors run Legacy™ (steel, built for security and durability), Ascent™ (fiberglass, mid-tier), and Signet® (fiberglass, ProVia’s most customizable line). Patio doors use the same ecoLite / Aspect / Endure / Aeris ladder as the windows.
The Part Financing Actually Changes
For a whole-house job, the tier decision is usually a monthly-payment decision rather than a total-cost one — the gap between mid and premium spread over a term is smaller than the sticker gap suggests, and it’s the tier you live with for the next twenty-five years. See financing options for what’s available, or request a quote and we’ll price your actual openings.